 Meditech
ATM Cleaning card for thermal printing head
2854Wipe Material : 100% Polyester Spunlace Material Size Dimension : 4.5aa x 4.5aa ( Inches) Thickness Tolerance Closed wrapping Applications : + Al...
View detailsSearch productSearch post
1. With the deposit application or ScanLite launched, hold down the shift key and press the ‘Reset’ button (or unplug and plug back in the power supply). This will start the scanner’s cleaning / diagnostic mode program.
2. Select the ‘Clean’ tab at the top to start the scanner’s motor. This will cause the rollers to spin, making it easy to feed the cleaning cards through the scanner.
3. Remove the cleaning cardfrom the pouch. The card will be the most effective for the first 60 seconds or so.
4. Insert the cleaning cardinto the scanner. Hold onto the card. Keep holding onto the card so that it does not feed into the scanner.
5. The first feed roller will scrub itself against the card. Flip and rotate the card to a clean corner after a few seconds of scrubbing. Repeat this step 3 to 4 times.
6. After the first roller has been cleaned, insert the card into the scanner. Scan the card as if it were a normal document 3 to 4 times.
7. Once the scanner has been cleaned, press the ‘Clear’ tab to stop the scanner’s motor.
8. Disconnect the power and USB cables. Remove the various outer covers. The covers are removed by lifting up on them vertically.
9. Locate the white nylon thumbscrew. Remove the thumbscrew and carefully open the outer camera door.
10. Clean the glass lens covering the cameras. Dampen a tissue or paper towel with water or glass cleaner.
11. Close the camera door and replace the white nylon thumbscrew. Replace the scanner covers.
12. Items that have stopped in the path can be removed by carefully lifting up on the item and pulling or rocking it loose.
Wipe Material : 100% Polyester Spunlace Material Size Dimension : 4.5aa x 4.5aa ( Inches) Thickness Tolerance Closed wrapping Applications : + Al...
View details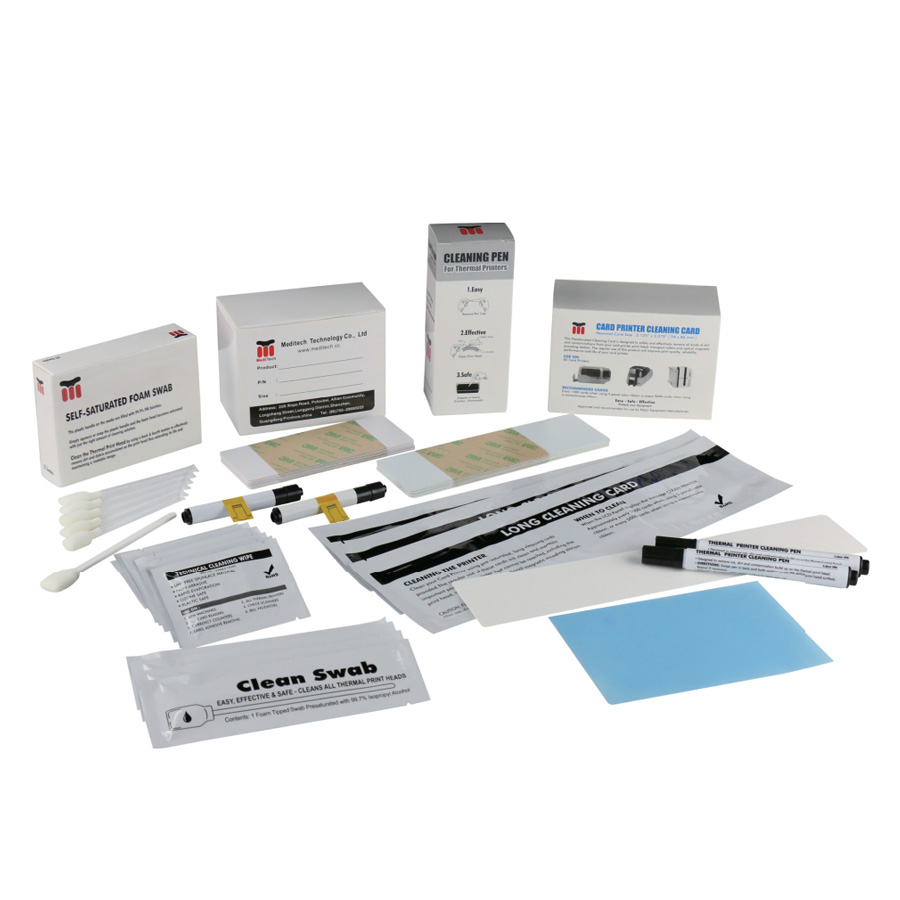
Printer and cleaning kit supplies Under normal circumstances, we will simply think that printer supplies, besides paper and toner, will have no other consumables. In fact, there are other cleaning kits for printer supplies. The printer cleaning k...
View detailsIntroduction of microfiber dust-free wiping cloth Product characteristics of microfiber dust-free wiping cloth: Application of dust-free wiping cloth:
View detailsThe Cleaning Card is essential to the consistent credit card and debit card reads on your POS Terminal. A credit card has oils and dirt on its surface. With every swipe into your credit card reader these contaminates are transferred into the card ...
View detailsEnter the arithmetic result.
Incorrect calculation, please re-enter.